Hey there! I'm a supplier of 100w CO2 laser engravers, and I'm stoked to share with you how to install one of these bad boys. Whether you're a hobbyist looking to add some personalized touches to your projects or a business owner aiming to boost your production, a 100w CO2 laser engraver can be a game-changer. So, let's dive right in!
Step 1: Unpacking and Inspection
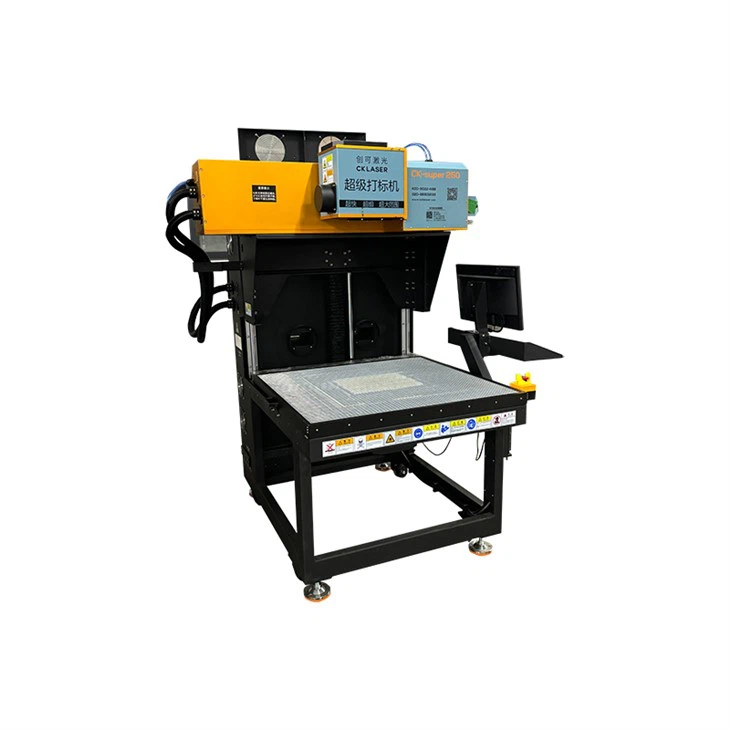
First things first, carefully unpack your 100w CO2 laser engraver. Make sure you have all the parts included in the package. Check for any visible damage during shipping. If you notice any issues, contact the supplier right away. You should have the laser engraver itself, power cables, water cooling system components, control panel, and some accessories like lenses and mirrors.
Step 2: Choose the Right Location
Picking the right spot for your laser engraver is crucial. It needs to be on a flat, stable surface with enough space around it for ventilation. You also want to make sure it's away from any flammable materials. CO2 laser engravers generate heat, so good airflow is a must. A dedicated room or a well-ventilated workshop is ideal.
Step 3: Set Up the Water Cooling System
The water cooling system is essential for keeping your laser tube at the right temperature. Start by connecting the water pump to the laser tube. Make sure the hoses are securely attached and there are no leaks. Fill the water tank with distilled water. You don't want to use tap water as it can contain minerals that might clog the system. Once the tank is filled, turn on the water pump and check for proper water flow.
Step 4: Connect the Power
Before plugging in the laser engraver, double-check the power requirements. Most 100w CO2 laser engravers need a stable 220V power supply. Connect the power cable to the engraver and then plug it into a grounded outlet. Make sure the power switch is in the off position before connecting.
Step 5: Install the Control Panel
The control panel is like the brain of your laser engraver. Connect it to the engraver using the provided cables. Follow the instructions in the manual to set up the control panel. You'll need to configure some basic settings like the engraving area, speed, and power. This is where you can get creative and customize your engraving projects.
Step 6: Align the Laser Beam
Aligning the laser beam is a critical step. You want to make sure the laser is hitting the right spot on the engraving surface. Use the alignment tools provided with the engraver to adjust the position of the mirrors and lenses. This might take a bit of trial and error, but getting it right is essential for accurate engraving.

Step 7: Test Run
Once everything is set up, it's time for a test run. Load a small piece of material onto the engraving bed. You can start with something like a scrap piece of wood or acrylic. Use the control panel to set the engraving parameters, such as the power and speed. Then, start the engraving process. Watch closely to make sure everything is working as it should. If you notice any issues, stop the machine and double-check your settings.
Step 8: Safety First
Don't forget about safety! CO2 laser engravers can be dangerous if not used properly. Always wear safety goggles to protect your eyes from the laser beam. Make sure there is proper ventilation to remove any fumes generated during the engraving process. Keep a fire extinguisher nearby just in case.
Different Applications and Machines
If you're into nail art, you might be interested in our Nail Stickers Laser Engraving Machine. It's perfect for creating unique and detailed nail stickers. For those in the garment industry, our Garment Accessories Laser Marking Machine can add a professional touch to your products. And if you're working with paper, our Paper Laser Engraving Machine is a great choice.
Conclusion
Installing a 100w CO2 laser engraver might seem a bit daunting at first, but with the right steps and a little patience, you'll have it up and running in no time. Whether you're a beginner or an experienced user, these machines offer endless possibilities for creativity and production. If you have any questions or are interested in purchasing a 100w CO2 laser engraver, don't hesitate to reach out for a procurement discussion. We're here to help you make the most of your laser engraving experience.
References
- Manufacturer's manual for the 100w CO2 laser engraver
- Industry best practices for laser engraver installation and operation